
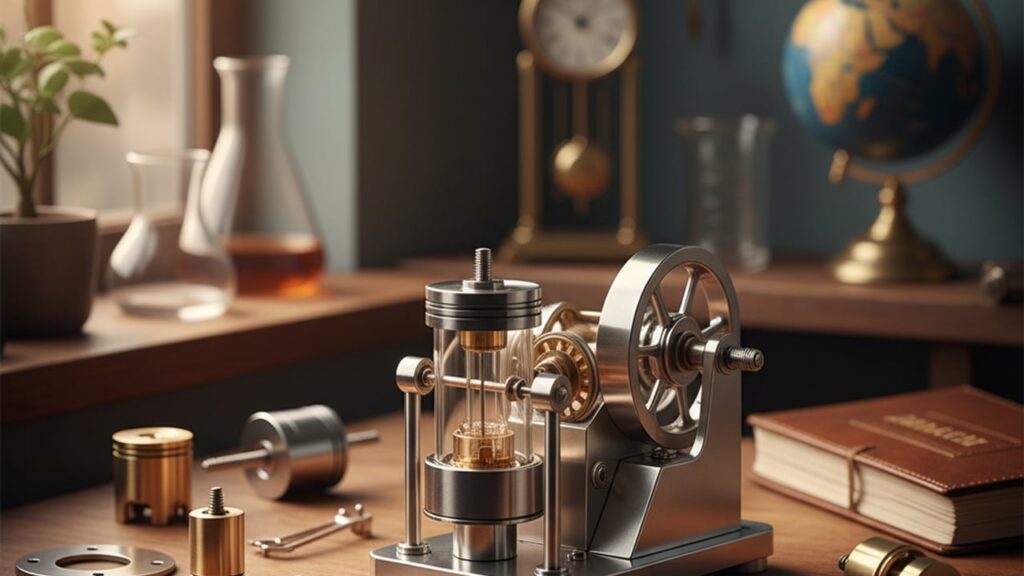
The essentials:
- A Stirling engine kit is a build-it-yourself model engine that runs on temperature difference alone, no fuel, no batteries, no fumes.
- The four core parts are the displacer piston, power piston, flywheel and a heat source (candle, hot water or your own hand).
- Assembly typically takes 30 to 90 minutes and suits curious teens (14+) through to retired engineers, with adult supervision recommended for younger builders.
- Reliable running depends on airtight seals, a well-balanced flywheel and a genuine temperature gap between the hot and cold plates.
If you have ever watched a small brass flywheel spin into life above a teacup with no visible power source, you have witnessed a Stirling engine doing what it does best: turning heat into motion using nothing but physics. A Stirling engine kit lets you build that same magic on your own desk, and it remains one of the most satisfying gifts you can hand to a curious mind of any age.
📋 Table of contents
What Is a Stirling Engine and How Does It Actually Work?
A Stirling engine converts a temperature difference directly into mechanical motion by cyclically heating and cooling a fixed volume of gas, usually air, inside a sealed chamber. As the trapped air warms near the hot plate it expands and pushes a piston; as it shifts to the cold side it contracts, pulling the piston back. Repeat that cycle continuously and you get rotary motion at the flywheel, no combustion required.
The engine was patented in 1816 by the Scottish clergyman Robert Stirling, who designed it partly as a safer alternative to the steam engines of the era, which had a nasty habit of exploding. His original goal was industrial, but the elegant simplicity of the design has made it a favourite in physics classrooms and science-loving living rooms ever since.
💡 Did you know?
Did you know the Stirling engine predates the internal combustion engine by roughly 60 years? Robert Stirling filed his patent in 1816, decades before Nikolaus Otto built the first practical four-stroke engine in 1876.
Why Does It Need a Temperature Difference, Not Fuel?
Unlike a petrol engine, a Stirling engine has no ignition and no exhaust stroke because it never burns anything inside its chamber. The engine simply exploits the natural expansion and contraction of a gas as it moves between a hot zone and a cold zone, which is why a cup of hot tea, a candle flame, or even the warmth of your palm against a cool tabletop is enough to set the flywheel spinning.
What Comes in a Stirling Engine Kit?
Most desktop kits ship as a set of precision-machined or laser-cut parts you assemble yourself, rather than a pre-built model. Understanding the components in advance makes the build far less intimidating.
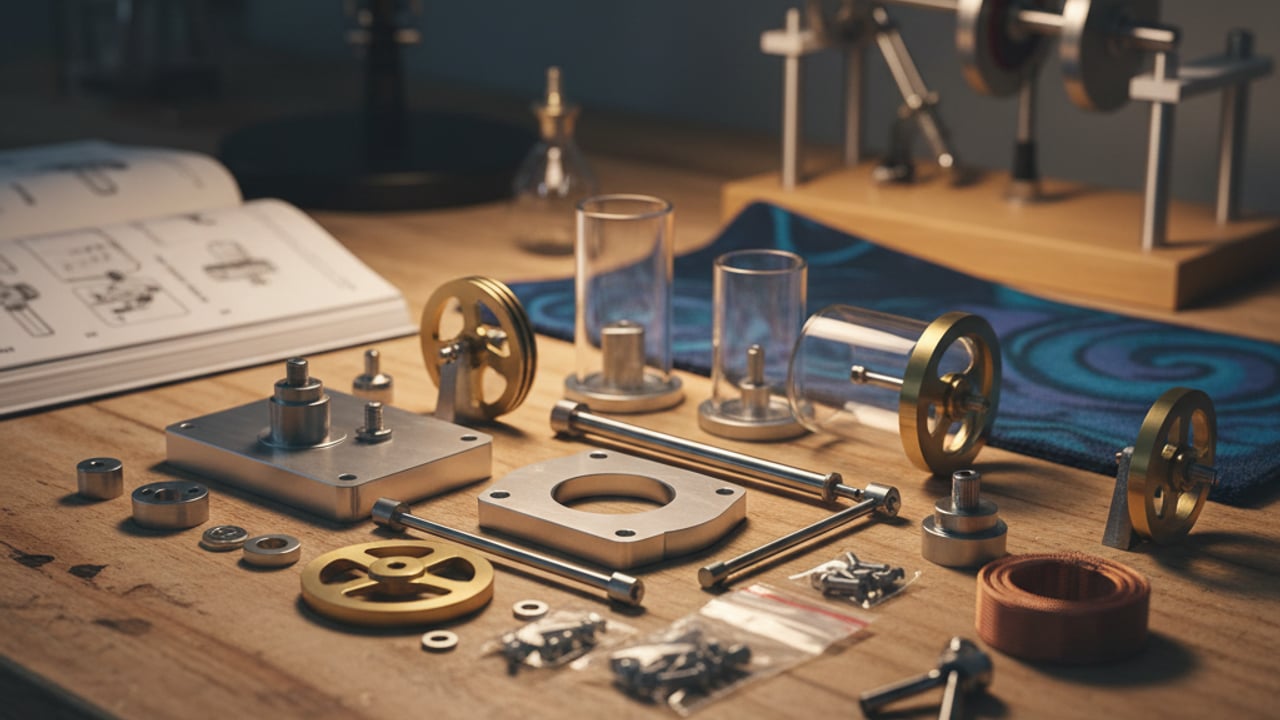
- Displacer piston: a lightweight piston that shuttles the trapped air between the hot and cold ends of the cylinder without doing useful work itself.
- Power piston: the piston that actually gets pushed by the expanding gas and transmits force to the flywheel.
- Flywheel: stores rotational energy and smooths out the engine’s motion between power strokes.
- Hot plate or heat source contact point: where an external flame, hot water, or heated coil is applied.
- Cold plate or heat sink: often just the ambient air or a small water reservoir that keeps the opposite end cool.
- Connecting rods and crankshaft: convert the linear piston motion into the circular motion of the flywheel.
Kits vary from beginner acrylic models with snap-fit parts to precision brass and glass versions aimed at serious hobbyists. If you are shopping for a gift, our own DIY Stirling Engine Kit sits in that satisfying middle ground: real machined components, a manageable build time, and a genuinely mesmerising spin once it is running.
⭐ Key takeaway
Before buying, check whether the kit includes its own heat source (usually a small candle or spirit burner) or relies on hot water you supply yourself. This single detail changes how you will actually use the engine at home.
How Do You Assemble a Stirling Engine Kit Step by Step?
Assembly generally follows the same logical sequence across brands, though instructions and part shapes vary.

🛍️ Our pick
DIY Stirling Engine Kit
Un kit DIY Stirling Engine permet de construire soi-même un moteur thermique pour comprendre les principes de conversion d’énergie thermique en travail mécanique.
63,99 £ · ★ 30 sold
- Lay out and identify every part against the included diagram before touching a screwdriver, since missing a tiny washer early on causes most beginner frustration.
- Fit the displacer piston into the main cylinder, checking it slides freely without binding against the walls.
- Attach the power piston and connecting rod to the crankshaft, keeping alignment precise so the mechanism does not bind under load.
- Mount the flywheel and confirm it spins freely by hand before any heat is applied.
- Seal the chamber according to the manufacturer’s instructions, since air leaks are the single most common reason a finished engine refuses to run.
- Apply your heat source, whether that is a lit candle, a cup of near-boiling water, or a warm mug, and give the flywheel a gentle starting nudge.
A properly assembled engine should start spinning within a few seconds of a firm temperature difference being applied, and it will keep running for as long as that gradient is maintained. If nothing happens after a nudge, the fix is almost always more heat, less friction, or a tighter seal, in that order.
What Size and Age Range Suits a Stirling Engine Kit?
Most desktop Stirling engine kits measure between 12 cm and 20 cm in height once assembled, small enough for a shelf or office desk. Manufacturers generally recommend these kits for ages 14 and up when hot elements like candles or spirit burners are involved, with younger children able to enjoy pre-built or hot-water-powered versions under adult supervision. Always follow the age guidance and safety instructions printed on your specific kit, since small metal parts and open flames are involved in some models.
💡 Did you know?
NASA has researched Stirling-cycle generators for potential deep-space missions, since the technology can convert waste heat from radioisotope sources into electricity without moving fuel or combustion at all.
Troubleshooting: Why Won’t My Stirling Engine Run?
The vast majority of non-starting engines suffer from one of three problems: insufficient temperature difference, air leakage, or excess mechanical friction.
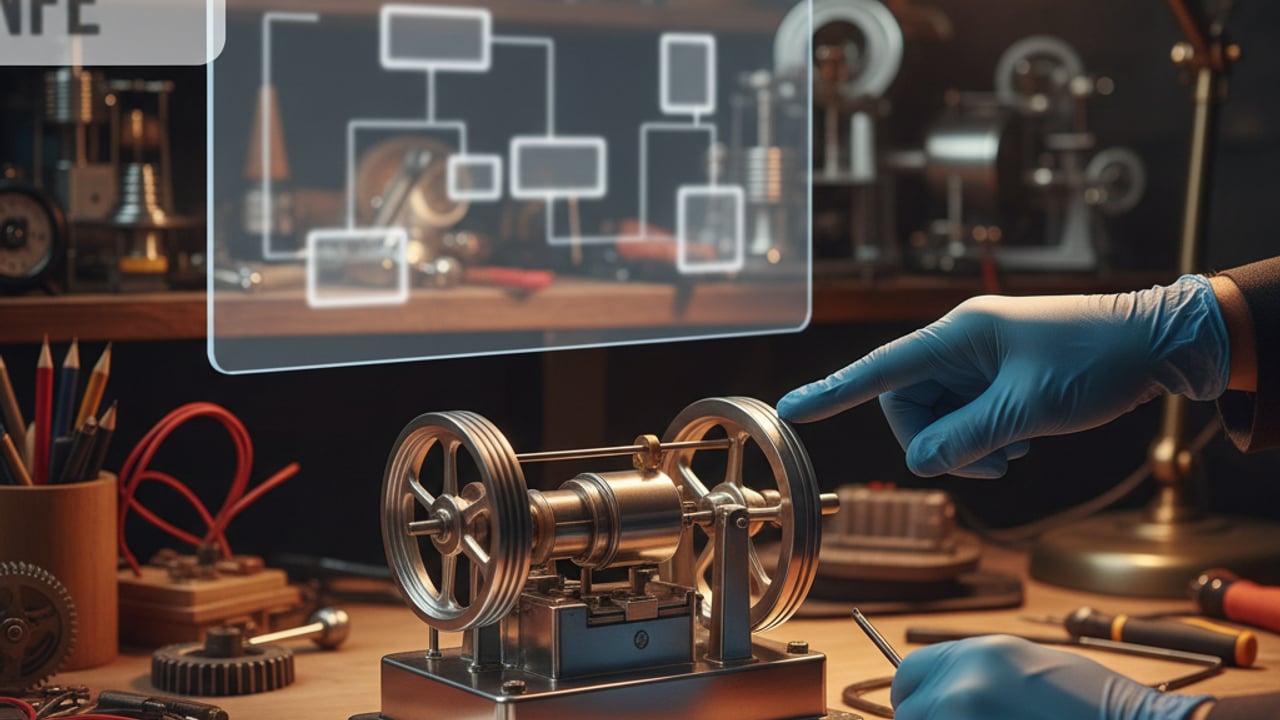
- Not enough heat gradient: a lukewarm mug will rarely be enough; use near-boiling water or a proper flame source, and keep the cold end genuinely cool.
- Air leaks: check every seal and gasket, since even a pinhole gap lets pressure escape before it can push the piston.
- Friction in moving parts: a tiny drop of light machine oil on pivot points, applied sparingly, often revives a sluggish engine.
- Flywheel imbalance: an unevenly weighted flywheel will wobble and stall; check it spins smoothly and true before adding heat.
Our Verdict: Is a Stirling Engine Kit Worth Buying?
In my years curating scientific objects for the home, I have watched more dinner party conversations stop dead in front of a spinning Stirling engine than almost any other desktop gadget I stock. It earns its keep as both a genuine physics demonstration and a strikingly elegant piece of kinetic decor, which is a rare combination. My honest advice: choose a kit with visible moving brass or glass parts rather than a fully enclosed plastic housing, since half the appeal is watching the mechanism actually work. Pair it with a warming mug of tea rather than a candle if you want a fuss-free party trick you can repeat instantly.
If engines and mechanisms are your thing, you might also enjoy exploring balance and tension through our Tensegrity Lego set, or add some old-world scientific charm to a shelf with a Crystal Storm Glass Barometer, both firm favourites among the same crowd who love a good Stirling engine.
FAQ: Stirling Engine Kits Answered
Sources
- Robert Stirling, UK Patent No. 4081, 1816, historical patent record
- NASA Glenn Research Center, publications on Stirling radioisotope generator research for space applications
- Institution of Mechanical Engineers, historical engineering archives on early heat engines