
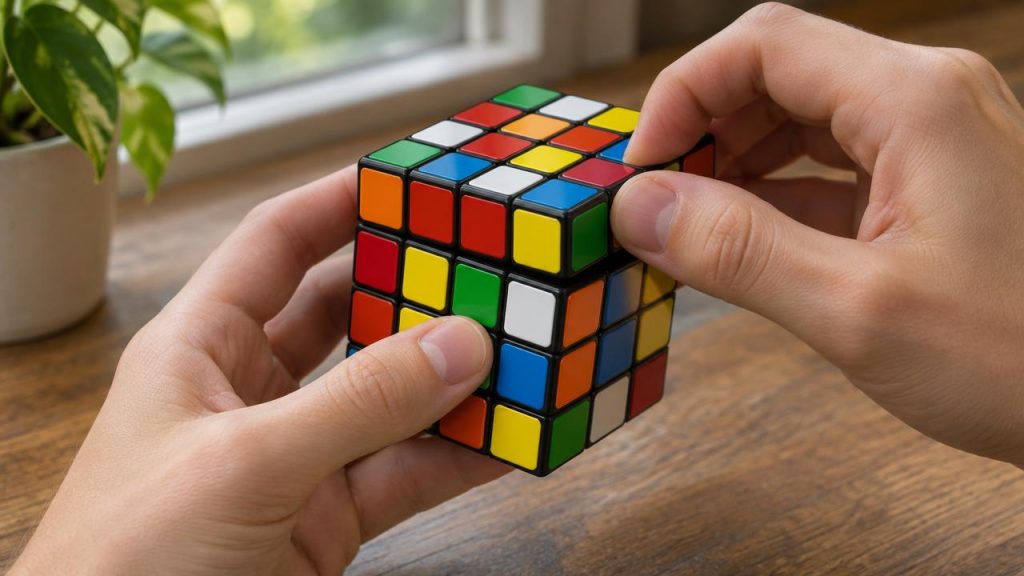
The essential:
- The reduction method turns the 4×4 into a 3×3 in three stages: six centres, twelve paired edges, then a normal 3×3 solve.
- The 4×4 (Rubik’s Revenge) was invented by Péter Sebestény and released in 1981, with about 7.4 × 10^45 possible positions.
- Two parity cases can appear at the end, OLL parity (one flipped edge) and PLL parity (two swapped edges), each fixed by one algorithm.
- The official 4×4 world record single is 15.18 seconds, set by Tymon Kolasiński at the Spanish Championship in December 2025.
Learning how to solve a 4×4 Rubik’s Cube is far less intimidating once you realise you are not learning a new puzzle from scratch. If you can already solve a standard 3×3, roughly two thirds of the work is familiar; the rest is a handful of intuitive steps and two parity algorithms.
This guide uses the reduction method, the approach most beginners and many fast solvers start with. You will build the six centres, pair the edges, solve the cube like a 3×3 and then deal with parity. Every algorithm below uses standard notation and has been checked move by move on a simulated 4×4.
📋 Table of contents
- How to solve a 4×4 Rubik’s Cube with the reduction method
- What does 4×4 notation mean?
- How do you solve the 4×4 centres?
- How do you pair the 4×4 centres and edges?
- Can you solve the rest like a 3×3 cube?
- What is 4×4 parity and why does it happen?
- Which 4×4 algorithms fix OLL and PLL parity?
- Our take: how to learn how to solve a 4×4 Rubik’s Cube faster
- FAQ
How to solve a 4×4 Rubik’s Cube with the reduction method
Reduction means turning the 4×4 into something that behaves like a 3×3. You group the four centre pieces of each face into one block and pair matching edge pieces, then solve with ordinary 3×3 methods. A 4×4 has 56 visible pieces: 8 corners, 24 edge pieces (often called wings) and 24 centre pieces. A 3×3 has 8 corners, 12 edges and 6 fixed centres. Reduction simply joins pieces together until the bigger cube mirrors the smaller one:
- Centres: four centre pieces per face become one 2×2 block, giving six “big” centres.
- Edges: two matching wings join to form a “dedge” (double edge), giving twelve.
- 3×3 stage: with only outer-layer turns, the cube now behaves like a 3×3.
The catch is that the 4×4 has no fixed centres, so you must place them in the correct colour scheme yourself. On a standard cube, white is opposite yellow, green is opposite blue and red is opposite orange. Hold white on top and green in front, and red goes on the right.
The 4×4 Rubik’s Cube in our range turns smoothly enough for a beginner to practise the slice moves without catching, which matters more on a 4×4 than on a 3×3.
⭐ Key takeaway
Reduction in one line: centres first, edges second, 3×3 third, parity last. Never move on until the current stage is fully finished.
What does 4×4 notation mean?
Outer face turns use the familiar letters R, L, U, D, F and B. Rw means turning the two right layers together, and a lowercase r here means turning only the inner right slice. Notation is where most 4×4 tutorials confuse people, because conventions differ. This guide follows World Cube Association notation for face and wide turns, and adds lowercase letters for single inner slices:
- R, L, U, D, F, B: a quarter turn of the outer face, clockwise as you look at that face.
- An apostrophe (R’): anticlockwise.
- A 2 (R2): a half turn.
- Rw, Uw, Lw: a “wide” turn of the outer face plus the slice next to it, two layers together.
- r, l, u: in this guide, the inner slice only, without the outer face.
- x: rotate the whole cube as you would turn R.
Some websites write lowercase r to mean a wide turn. Before you copy any algorithm, check which convention the source uses; mixing the two is the single most common reason a parity algorithm “does not work”.
A good habit is to practise each move slowly while saying it aloud. Holding the cube with your thumbs on the front face and fingers behind gives the most control over the inner slices.

🛍️ Our pick
4×4 Rubik's Cube
A smooth-turning 4×4 cube with clear colours: the right puzzle for learning centres, edge pairing and parity.
£16.99 · ★ 14 sold
Discover →How do you solve the 4×4 centres?
Build each centre as a 2×2 block by first pairing two centre pieces into a bar, then joining two bars. Solve two opposite centres first, then the remaining four using only slice moves and U turns. Centres are solved intuitively rather than with long algorithms. The basic idea is a three-move trigger: bring a centre piece into position on the top, then slide it in with a slice move.
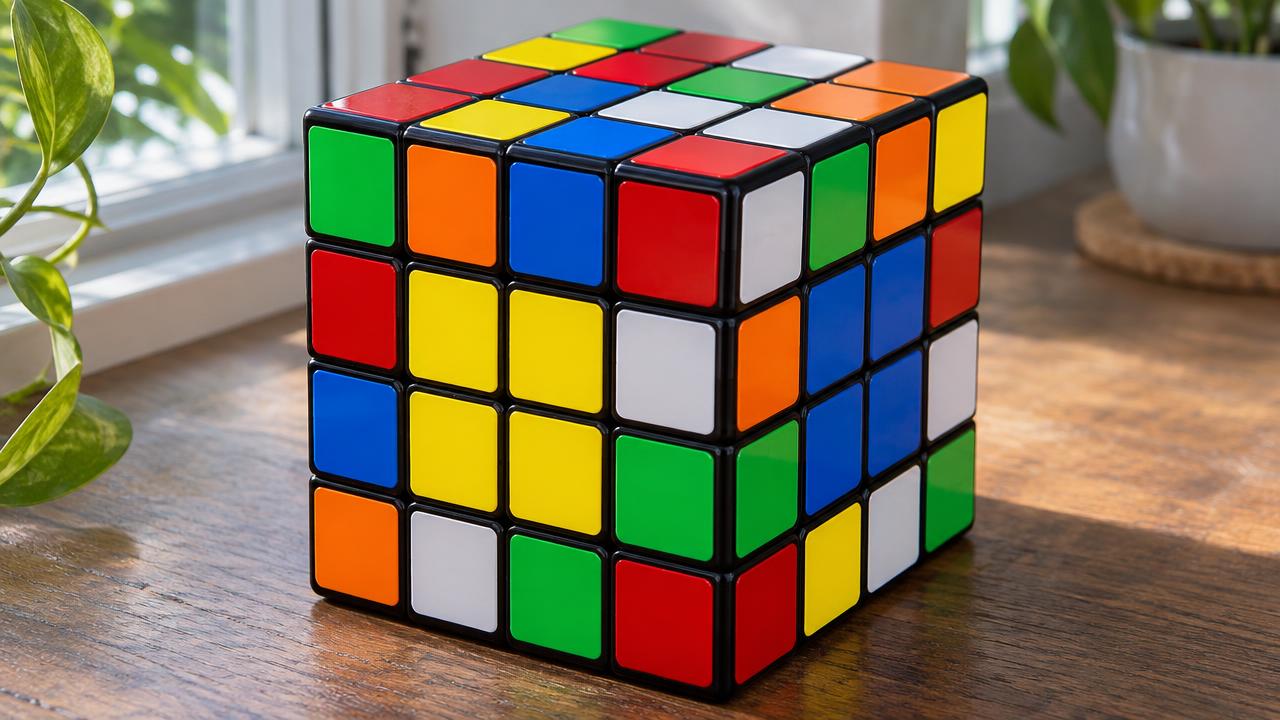
- First centre (white): make a bar of two white pieces, then a second bar, and join them. Any moves are allowed because nothing is solved yet.
- Second centre (yellow, opposite): hold white on the bottom. Use only inner slice moves such as r U r’ or r U2 r’ to bring yellow pieces up from the side faces without disturbing white. The slice goes up, the top face turns, and the slice returns.
- Last four centres: keep white and yellow on top and bottom and build the side centres one at a time, again in bars. Check the colour scheme: green, red, blue and orange must go round in the correct order.
The trigger r U r’ is safe because the white centre on the bottom never moves out of its face during the three moves. If a slice move would carry part of a finished centre away, use a U turn first to move the piece you need into a different column.
The last two centres are the trickiest, as you have no free face left. Work with bars and keep checking that the four side centres read green, red, blue, orange as you turn the cube.
How do you pair the 4×4 centres and edges?
Once all six centres are built, pair the 24 edge wings into twelve dedges. Line up two matching wings with a wide U turn, swap the finished pair out with R U R’, then undo the wide turn. The standard approach, sometimes called freeslice, pairs eight edges while keeping the centres intact:
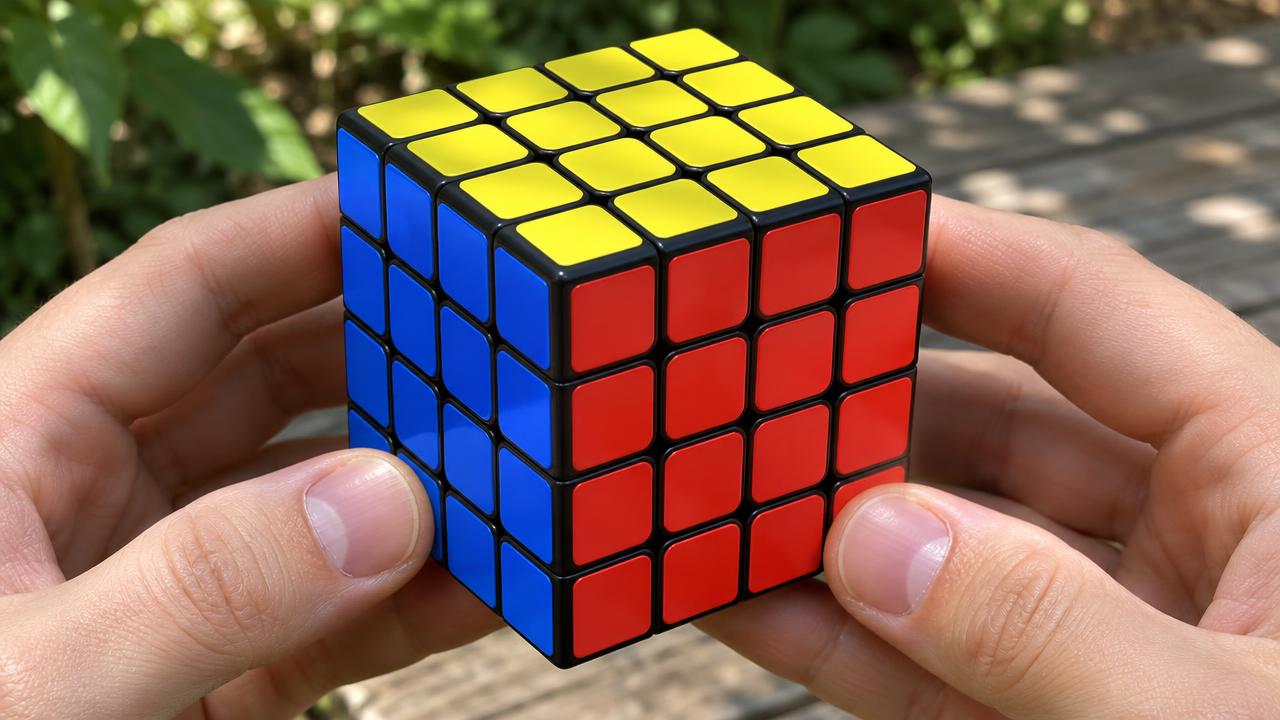
- Find two wings of the same colour pair, for example white-green. Put one at the front-left edge.
- Move the other into the front-right edge so that, after a Uw or Uw’ turn, the two wings will sit side by side.
- Do Uw (or Uw’) to join them into a dedge on the right.
- Replace that new dedge with an unpaired edge from the top layer using R U R’ or R U’ R’.
- Undo the wide turn (Uw’ or Uw) to restore the centres.
Repeat until only the last two edges are unpaired. Hold them at front-left and front-right and apply:
Uw’ R U R’ F R’ F’ R Uw
If the edges are still mixed after this, undo the sequence, flip the front-right edge with R U R’ F R’ F’ R, then apply the sequence again. In our simulator checks, one of those two routes paired the last two edges in every case tested, with all centres untouched.
Patience pays here: a dedge paired with the wrong colours will block the 3×3 stage later.
Can you solve the rest like a 3×3 cube?
Yes. With centres built and edges paired, use only outer face turns and solve exactly as you would a 3×3: cross, first two layers, orient the last layer, then permute it. From this point, avoid any wide or slice turns. They would break up the centres or edges you worked hard to build. Treat every 2×2 centre as one centre and every dedge as one edge, and use your usual 3×3 method.
Common beginner algorithms work unchanged, for instance:
- F R U R’ U’ F’ to build the yellow cross from a line or L shape;
- R U R’ U R U2 R’ (Sune) to orient yellow corners;
- R U’ R U R U R U’ R’ U’ R2 to cycle three last-layer edges.
The 4×4 feels slower and heavier than a 3×3, so take turns deliberately and recheck your colour scheme as you go. A mistake in the centres often only appears now, as a cross that refuses to line up with its centres.
If you enjoy this stage, the 5×5 Rubik’s Cube is the natural next step: it uses the same reduction idea but has fixed central pieces, so the colour scheme is set for you. For pure speed practice on the 3×3 stage, a Magnetic Rubik’s Cube gives crisp, positive turns.

🛍️ Our pick
5×5 Rubik's Cube
The next step up after the 4×4: the same reduction method, more centre pieces and edges to pair, and no parity on the centres.
£18.49 · ★ 17 sold
Discover →What is 4×4 parity and why does it happen?
Parity is a last-layer position that is impossible on a 3×3: a single flipped edge, or two edges swapped. It happens because the 4×4’s inner slices can create edge arrangements a 3×3 never reaches. On a 3×3, every legal position has an even number of flipped edges and pieces swapped in pairs. Reduction disguises a 4×4 as a 3×3, but the disguise is not perfect. The way the wings were paired can leave the reduced cube in a state that no outer-layer move sequence can reach.
There are two cases:
- OLL parity: while orienting the last layer, one dedge sits flipped on its own, or you end with an odd number of flipped edges.
- PLL parity: while permuting the last layer, two edges (or two corners) appear swapped with nothing else wrong.
Each case can turn up on any solve, and the two are independent, so some solves have both and some have neither. Do not read it as a mistake on your part; it is a built-in feature of even-numbered cubes.
Spotting parity early saves time. If the yellow cross needs an odd number of flipped edges, apply the OLL parity algorithm straight away, then continue with normal 3×3 algorithms.
💡 Did you know?
The 4×4 has about 7.4 × 10^45 possible positions, and because it has no fixed centres, there is no single correct orientation of the cube until you build the centres yourself.
Which 4×4 algorithms fix OLL and PLL parity?
For OLL parity, hold the flipped edge at the front of the top face and apply Rw U2 x Rw U2 Rw U2 Rw’ U2 Lw U2 Rw’ U2 Rw U2 Rw’ U2 Rw’. For PLL parity, use r2 U2 r2 Uw2 r2 u2. OLL parity (one flipped edge). Keep yellow on top and hold the flipped dedge at the front, on the top layer (the UF position). Then perform:
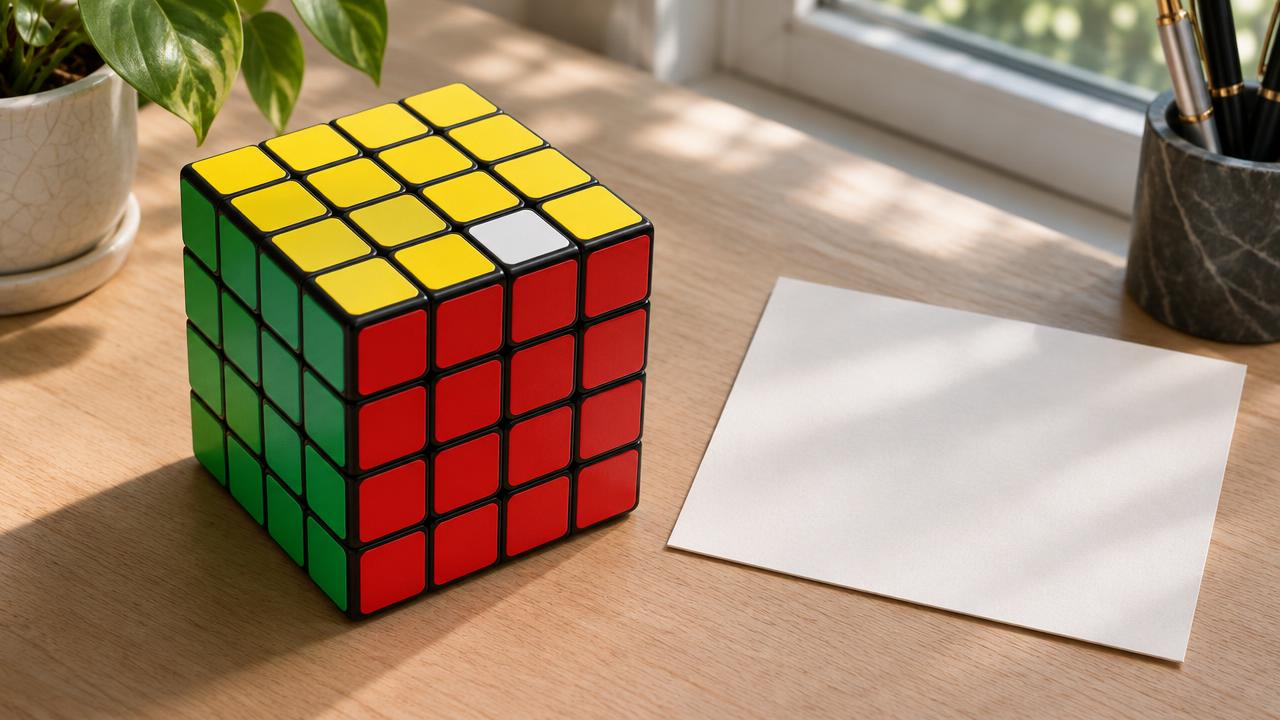
Rw U2 x Rw U2 Rw U2 Rw’ U2 Lw U2 Rw’ U2 Rw U2 Rw’ U2 Rw’
This flips the front edge and leaves the first two layers and all centres intact. Some other top-layer pieces move, so carry on with your normal orientation and permutation steps afterwards.
PLL parity (two edges swapped). With yellow on top, the swap between front and back top edges is fixed by:
r2 U2 r2 Uw2 r2 u2
Here r and u are inner slices only. This swaps the top-front and top-back dedges and changes nothing else. If your two swapped edges are adjacent rather than opposite, do a normal 3×3 edge permutation first so they become opposite, or turn the cube so the case matches.
Learn these two slowly, with the cube held still. A single wrong slice ruins the centres, and you will need to rebuild them.
| Stage | What you build | Key moves or algorithm |
|---|---|---|
| Centres | Six 2×2 centre blocks | r U r’, r U2 r’ |
| Edge pairing | Twelve dedges | Uw R U R’ Uw’ |
| Last two edges | Final two dedges | Uw’ R U R’ F R’ F’ R Uw |
| OLL parity | Flip one dedge | Rw U2 x Rw U2 Rw U2 Rw’ U2 Lw U2 Rw’ U2 Rw U2 Rw’ U2 Rw’ |
| PLL parity | Swap two top dedges | r2 U2 r2 Uw2 r2 u2 |
Our take: how to learn how to solve a 4×4 Rubik’s Cube faster
Master each stage separately before timing yourself. Most beginners lose minutes on centres and edge pairing, not on parity, so drill those intuitive steps first. Watching people learn puzzles at museum events, I noticed the same pattern again and again: frustration comes from trying to absorb everything at once. Split the 4×4 into its stages and give each one a few evenings.
- Week one: centres only. Scramble, build all six, check the colour scheme, repeat.
- Week two: edge pairing. Aim for twelve dedges without breaking a single centre.
- Week three: full solves, with the two parity algorithms written on a card beside you.
Expect your first complete solve to take a long time; that is normal. For perspective, the official world record single stands at 15.18 seconds, set by Tymon Kolasiński at the Spanish Championship in December 2025.
If you are choosing a cube as a gift, the buyer’s guide explains what makes a puzzle cube turn well. The wider puzzle cube collection runs from 2×2 to big cubes, and the brain teasers range has plenty for solvers who want a change of shape.
Once the 4×4 is mastered, our maths gifts page has plenty of puzzles and brain teasers to try next.
FAQ
Sources
- World Cube Association, official records and regulations notation
- Speedsolving.com wiki, 4x4x4 Cube and parity algorithms
- Ernő Rubik and others, Rubik’s Cubic Compendium (Oxford University Press, 1987)